Welcome to the very first tutorial ever created by Jennifer’s Cakes.
Have you ever wondered how bakers and cake decorators make those cute little roses that they place on top of their cupcakes or use for decoration on their big wedding cakes? These roses are so darling that I have called them ‘Charm Roses’. Charm roses are so small and delicate that they could even be mistaken for a bracelet charm, hence my name for them ‘Charm Roses’.
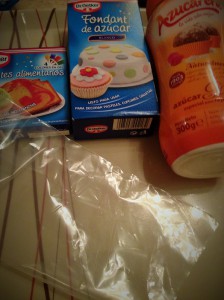
So, down to business – this is what you will need to create these little gems.
A flat, non-stick surface (I like to use a tray)
Sugar paste or fondant
Colouring gels
Icing sugar
Scissors
plastic piping bag (disposable)
Toothpick
That’s all you need, so let’s get started…
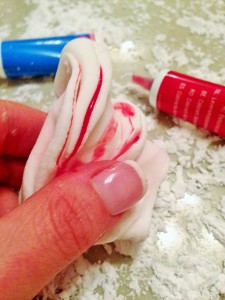
Step One: Sprinkle some of your icing sugar onto your flat surface and select a colour for your rose and place a small amount of the gel in the center of your sugar paste. Then, using the tops of your fingers and the palm of your hand, massage the colour into the sugar paste. Continue to smooth the colour into your sugar paste until there is no marbling effect, the texture of your fondant should be soft and almost elastic. Once you have achieved this, we can move onto step two…
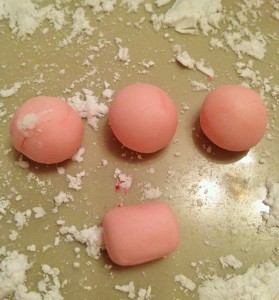
Step Two: Separate the sugar paste into four parts, three of the same sized round balls about the size of a Malteaser (the pictures are showing slightly larger balls so its easier to see exactly what i am doing). The last piece of sugar paste, should be the same size as the balls but almost sausage shaped but with flat ends.
Step Three: Using your plastic disposable piping bag, take your scissors and cut along the seem, so that you have two pieces of plastic which can sit on top of each other. Now, take your sausage shaped piece and place it in-between the two sheets of plastic.

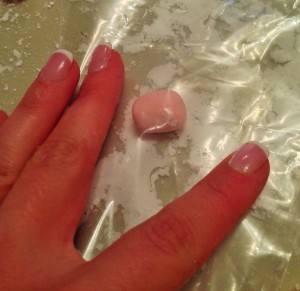
Step Four: Using your thumb, begin to smooth out the sausage shaped piece of sugar paste, and ensure that you smooth one side of the sugar paste a little thinner than the other. As you smooth out the sugar paste, use the motion from left to right and only move in that direction, this will ensure that the shape of fondant remains smooth. As you smooth the sugar paste, it should appear in the shape of the shape of a petal.
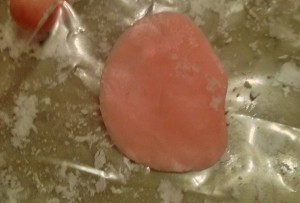
Step Five: Once your petal is ready, the rounded edge of your petal should be thinner then that of the pointed edge. Very gently, remove the top piece of plastic and then using your thumb and index finger, gently peal off the petal from the bottom sheet of plastic.
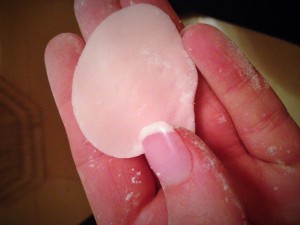
Step Six: Once you have carefully removed the petal from the plastic under-sheeting, place it across your fingers and using your thumb you are going to begin by following the direction upwards tucking the edge of the petal under and rolling it upwards.

Step Seven: Continue this step until the petal is looking like the one in the picture. Wrap the end of the petal, closing it off and you will notice that there is a lot of excess sugar paste at the bottom.
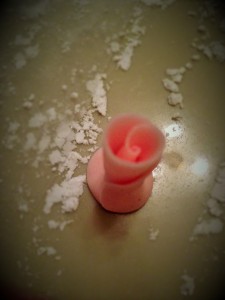
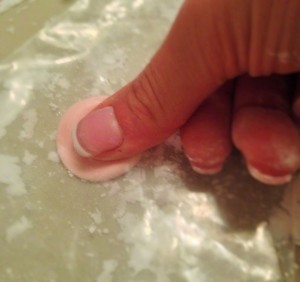
Step Eight: As I mentioned in the previous step, you will find that you have a lot of excess sugar paste at the bottom of your petal. You can use this to stick your petal down on your flat non-stick surface. It should look like the picture on the right. The reason why you stick your petal down, is so that you have both hands to make the next petal.
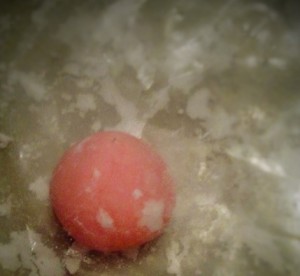
Step Nine: Once you have stuck your previous petal down on your flat surface, take one of your round balls and using the same steps as step three, place your ball between the two sheets of plastic.
Step Ten<%2