Hi there and welcome to the second Jennifer’s Cakes Tutorial
Today we will be making the most amazingly delicious and gorgeous to look at treats!
There is nothing better than having a party or having a get together and pulling out these show stopper desserts. They are absolutely beautiful and a surprise with every bite. These treats are great at birthday parties and perfect if your looking for something to do on a ‘rainy day’. This is how you make my Volcano cupcakes.
All you need is;

Vanilla Cake Batter
Piping Bags with Round Tip Nozzle
3 Different Gel Food Colours
Muffin Baking Tin
Muffin Paper Liners
3 Bowls
Spatula

Step One: Lets begin by lining the your baking tin with cupcake paper liners. Next, take your vanilla cake batter and separate it equally into three parts.
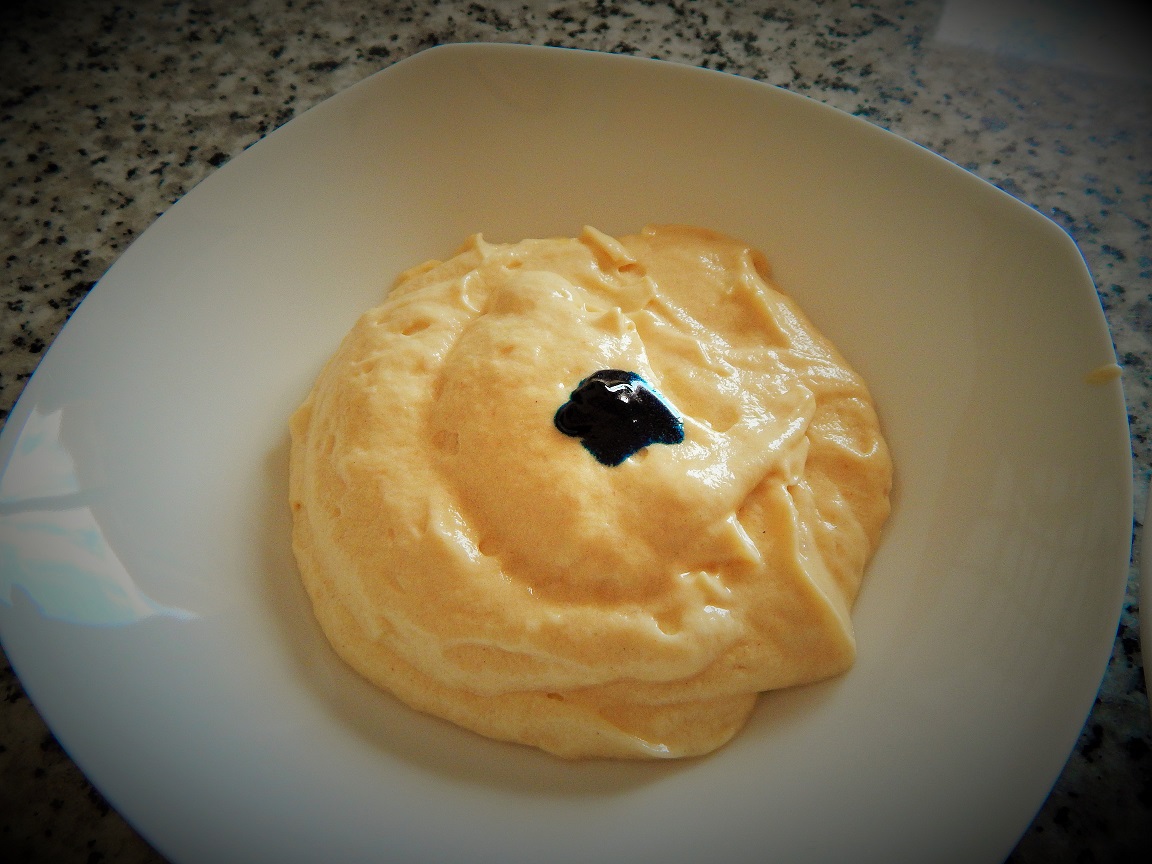
Step Two: Take your gel food colouring’s and place a small dollop into the centre of your cake batter; one colour for each batch of cake batter.
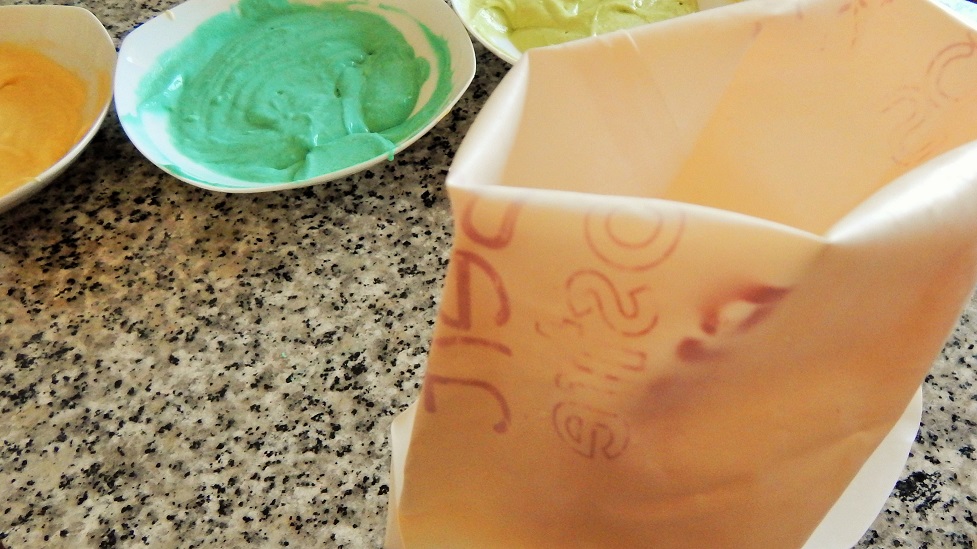
Step Three: Stir in your food colouring, until there is no marbling effect and the colour is smooth throughout the cake mix. Once you have your three coloured cake mixes, get your three piping bags ready and spoon each colour into their own individual piping bag.
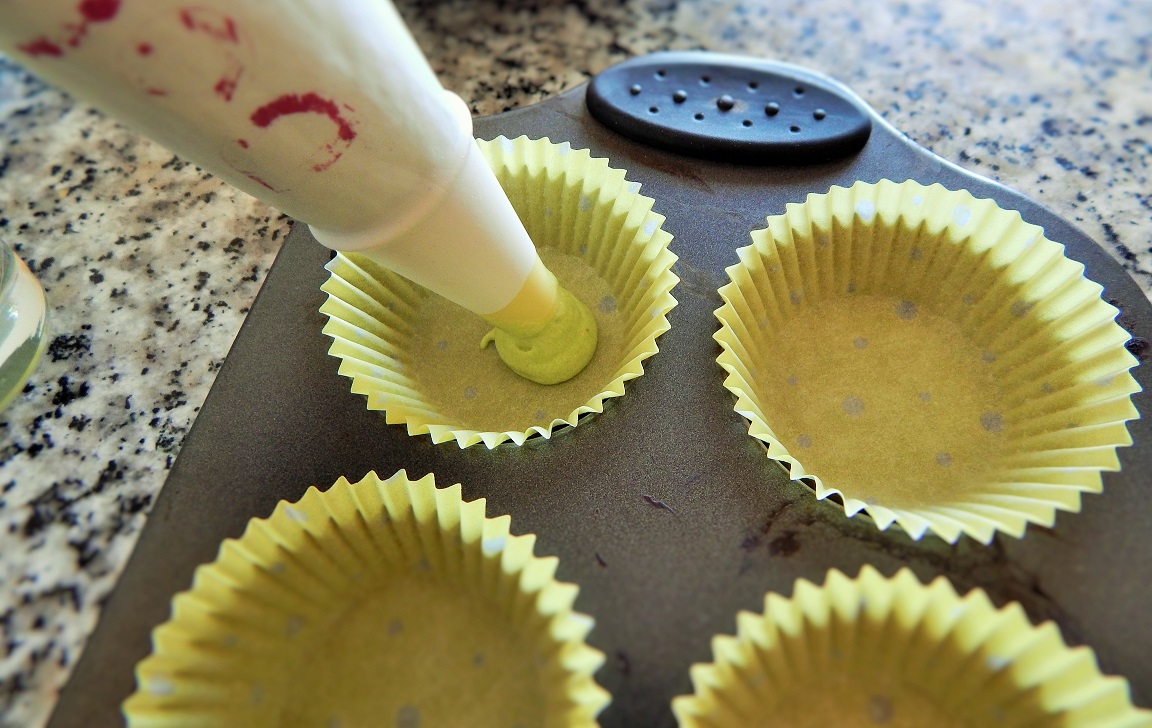
Step Four: Next, as these are going to be VOLCANO cupcakes. I like to pipe a light colour at the bottom of the cupcake so here, i am using a pale green.
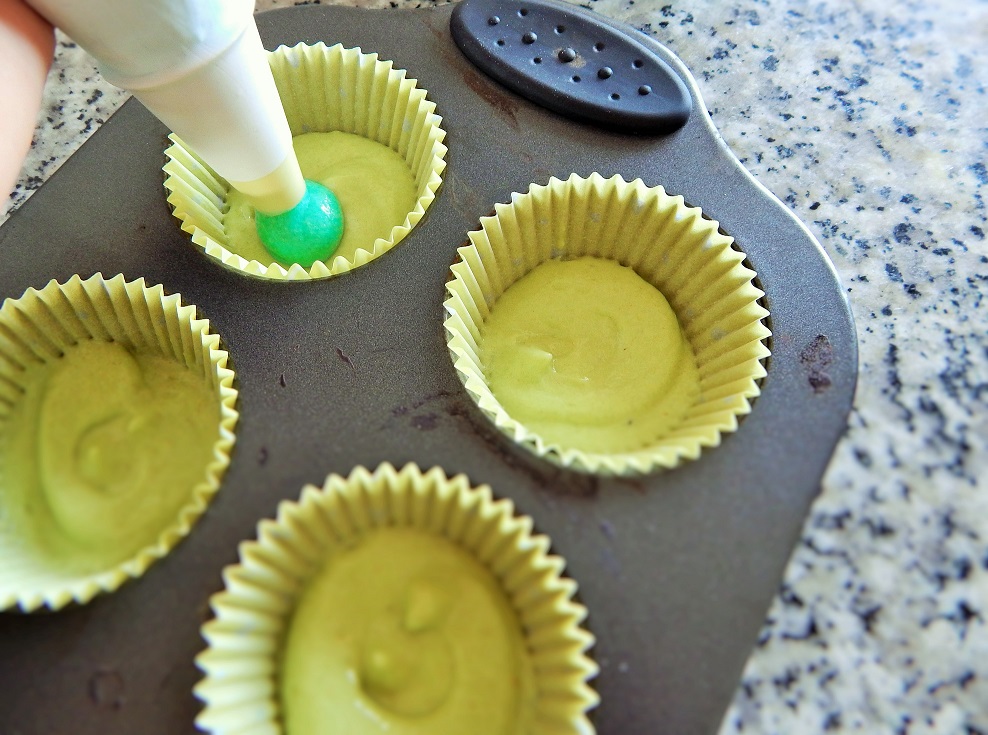
Step Five: Now, I am going to pipe in my brightest colour (This is the colour which will make the appearance of the cupcake look like a Volcano) going in a circular motion, until the green cake mix has been covered or…
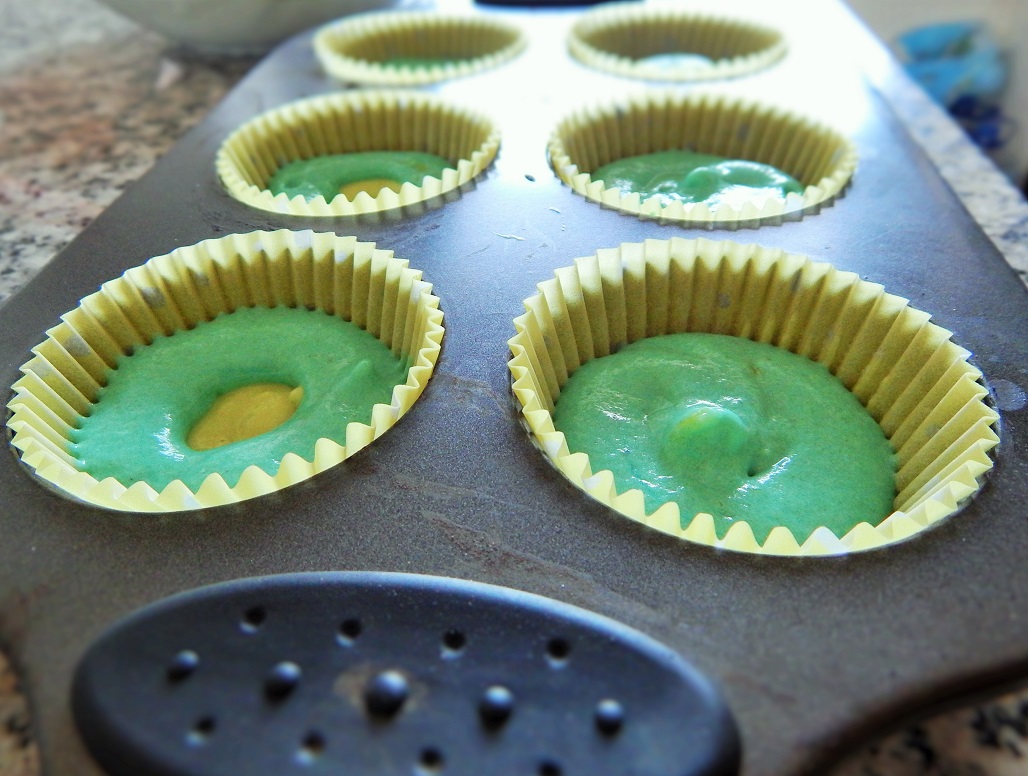
Step Six: I like to mess around with this part of the piping as I feel that, surprise is the key with these cupcakes. Even you (the baker) should be surprised with what comes out 😉 Some, I have left the middles open to the green cake batter below and the others I have fully covered the green batter.
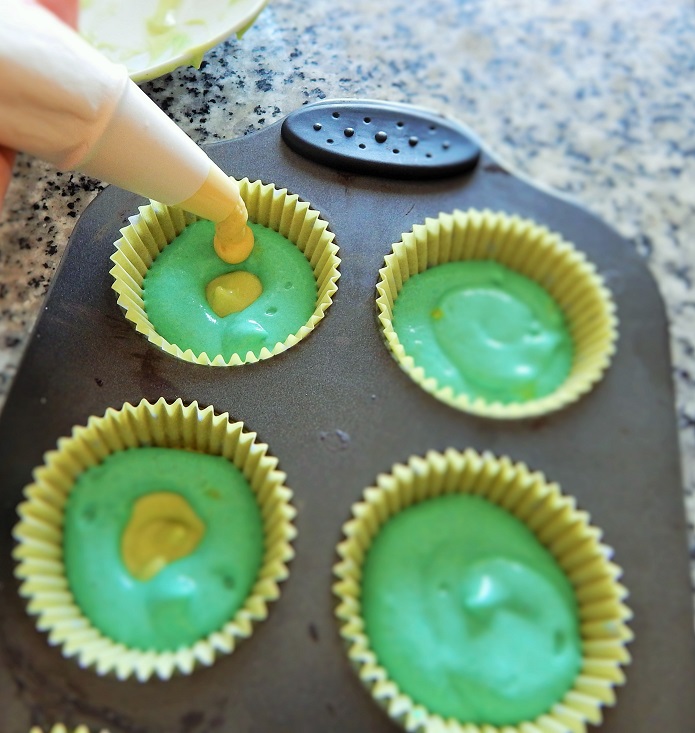
Step Seven: Now, Take you final colour (which mine is yellow) and pipe it over the top of the green and blue cake batter.
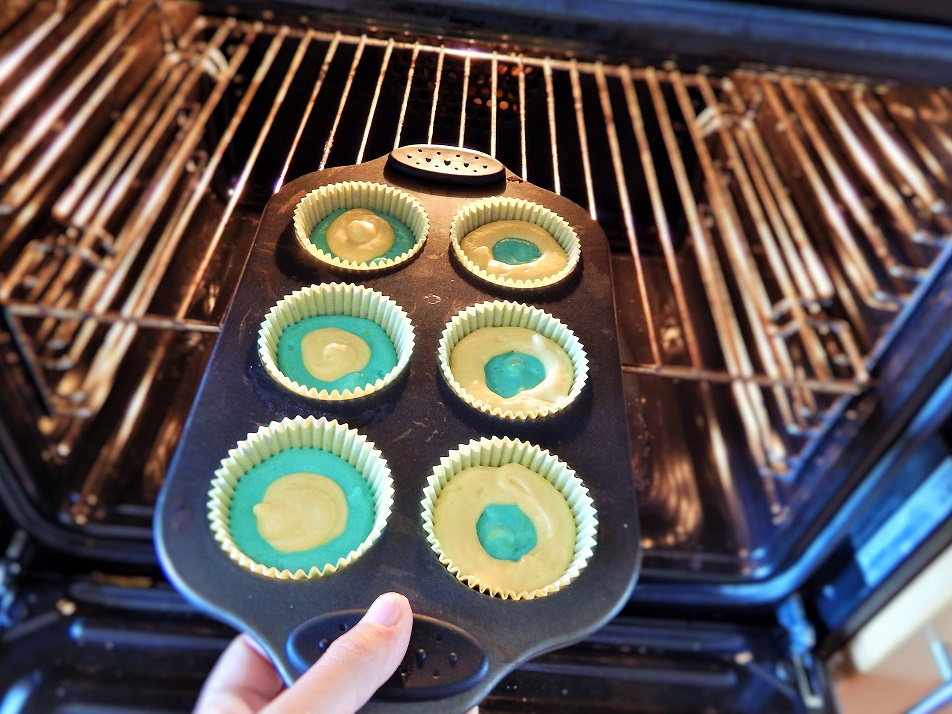
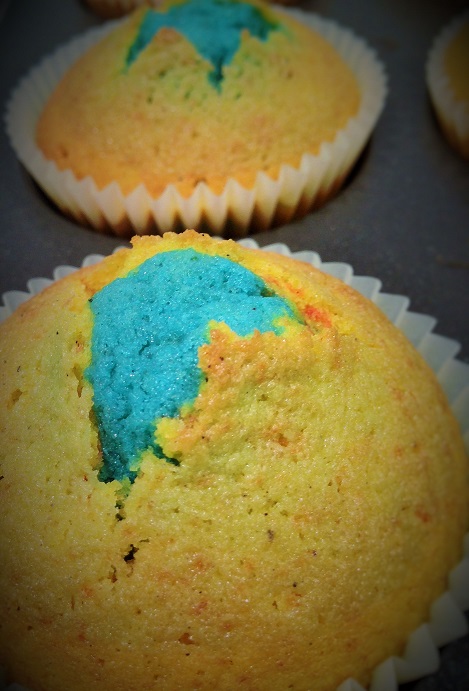
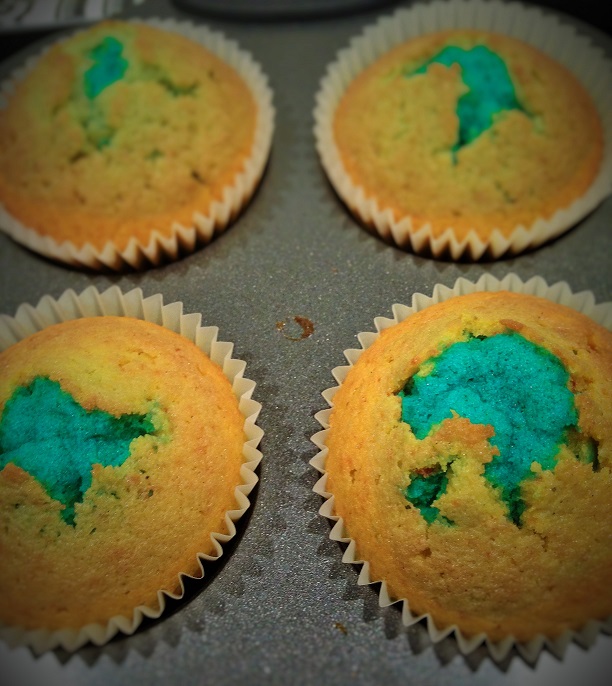
Step Eight: Now we have two different types of volcano cakes. Now, it is time to place them in the oven and watch for the results. Place them in the oven on 180C and bake them for 15 to 20 minutes or until they spring back to the touch or you can insert a skewer into the centre of each cupcake and can remove it without any batter on it.
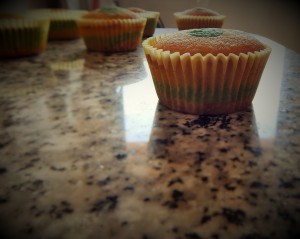
After, you take them out of the oven, leave them to stand in the baking tray for 10 minutes, then once the 10 mins is up, remove them from the baking tin and leave to cool fully on a wire cooling rack. When I took them out of the oven, I had some looking like above and others looking like below! A great mix and variety to a dinner party or kids party.
A great tip is to place a piece of chocolate into the centre of the cake batter before placing them in the oven and then when the individual cuts into their volcano, they have a gooey chocolaty bit in the middle. Additionally, you can use lemon cake batter or any flavour that does not have a colour, making it easier to colour.
Hope you have enjoyed the second turtorial from Jennifer’ Cakes and we hope you continue to learn with us and share the knowledge! If you have any questions or suggestions please leave them in the comment box below or send us an email.
Looking forward to hearing from you.
Thanks again
Jennifer
xxx
Leave a Reply